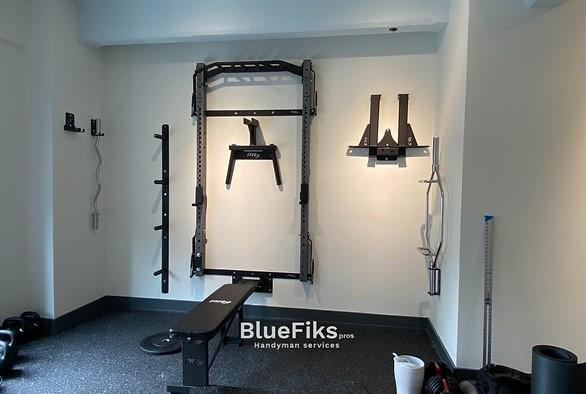
The Essential Guide to Fitness Equipment Assembly: Tips for Success
Embarking on a fitness journey is an empowering decision, but it's only the first step. The next challenge lies in assembling the equipment that will help you achieve your fitness goals. Whether you've invested in a treadmill, weight bench, or home gym system, proper assembly is crucial for safety, functionality, and maximizing the benefits of your equipment. In this comprehensive guide, we'll explore the essential steps and tips for successful fitness equipment assembly.
Importance of Proper Assembly
Proper assembly of fitness equipment is more than just following instructions—it's about ensuring safety and performance. Incorrectly assembled equipment poses significant risks, including injury to yourself or damage to the equipment. Additionally, a well-assembled machine operates smoothly, enhancing your workout experience and maximizing results.
Pre-Assembly Preparation
Before diving into assembly, take some time to prepare and set yourself up for success:
Read the Instructions: Start by carefully reading the assembly instructions provided by the manufacturer. Familiarize yourself with the components, tools required, and step-by-step assembly process.
Organize Components: Lay out all the components and hardware in a clear, well-lit area. Organize them according to the assembly steps to avoid confusion and ensure nothing is overlooked.
Gather Tools: Make sure you have all the necessary tools on hand, such as screwdrivers, wrenches, and allen keys. Using the correct tools will streamline the assembly process and prevent damage to the equipment.
Step-by-Step Assembly
Follow these general steps for assembling most types of fitness equipment:
Identify Parts: Match each component with its corresponding part number or description in the assembly instructions. This helps prevent mistakes and ensures that everything is in order before starting.
Assembly Sequence: Assemble the equipment in the sequence specified in the instructions. Typically, this involves starting with the base or frame and gradually adding components in the correct order.
Tighten Connections: As you assemble each part, ensure that all bolts, screws, and fasteners are securely tightened. Use the appropriate tools and follow torque specifications to avoid over-tightening or stripping threads.
Check Alignment: Periodically check the alignment of moving parts, such as pulleys, cables, and hinges. Proper alignment ensures smooth operation and reduces wear and tear on the equipment.
Test Functionality: Once assembly is complete, test the functionality of the equipment to ensure everything is working as intended. Test each feature, adjust settings if necessary, and make any final adjustments.
Tips for Success
Here are some additional tips to help ensure a successful assembly experience:
Patience is Key: Take your time and avoid rushing through the assembly process. Rushing can lead to mistakes and compromises safety.
Seek Assistance if Needed: If the assembly instructions are unclear or you encounter difficulties, don't hesitate to seek help from the manufacturer's customer support or consult online resources and forums.
Stay Organized: Keep track of small parts, such as screws and washers, to avoid losing them during assembly. Use containers or trays to keep everything organized.
Safety First: Always prioritize safety when assembling fitness equipment installation. Follow all safety precautions outlined in the instructions and use protective gear when necessary.
Conclusion
Assembling fitness equipment may seem daunting at first, but with careful preparation, attention to detail, and patience, it can be a rewarding and fulfilling experience. By following the steps and tips outlined in this guide, you'll be well-equipped to assemble your equipment safely and effectively, setting the stage for successful workouts and progress towards your fitness goals. Remember, proper assembly is the foundation for a safe and enjoyable fitness experience.

Comments
Post a Comment